[ad_1]
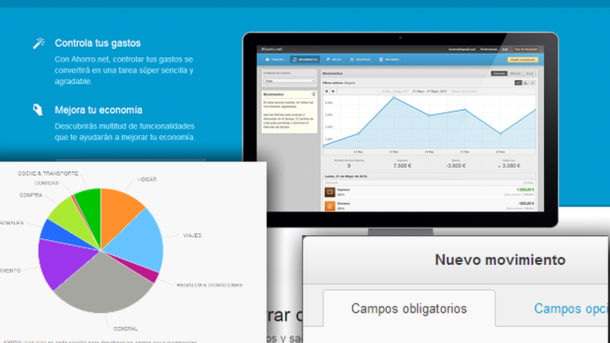
In these times of economic contraction, it seems that there is no choice but to reduce expenses. Forget Excel spreadsheets and opt for something much more visual and intuitive: Ahorro.net, a Spanish startup to manage the domestic economy online, from the browser.
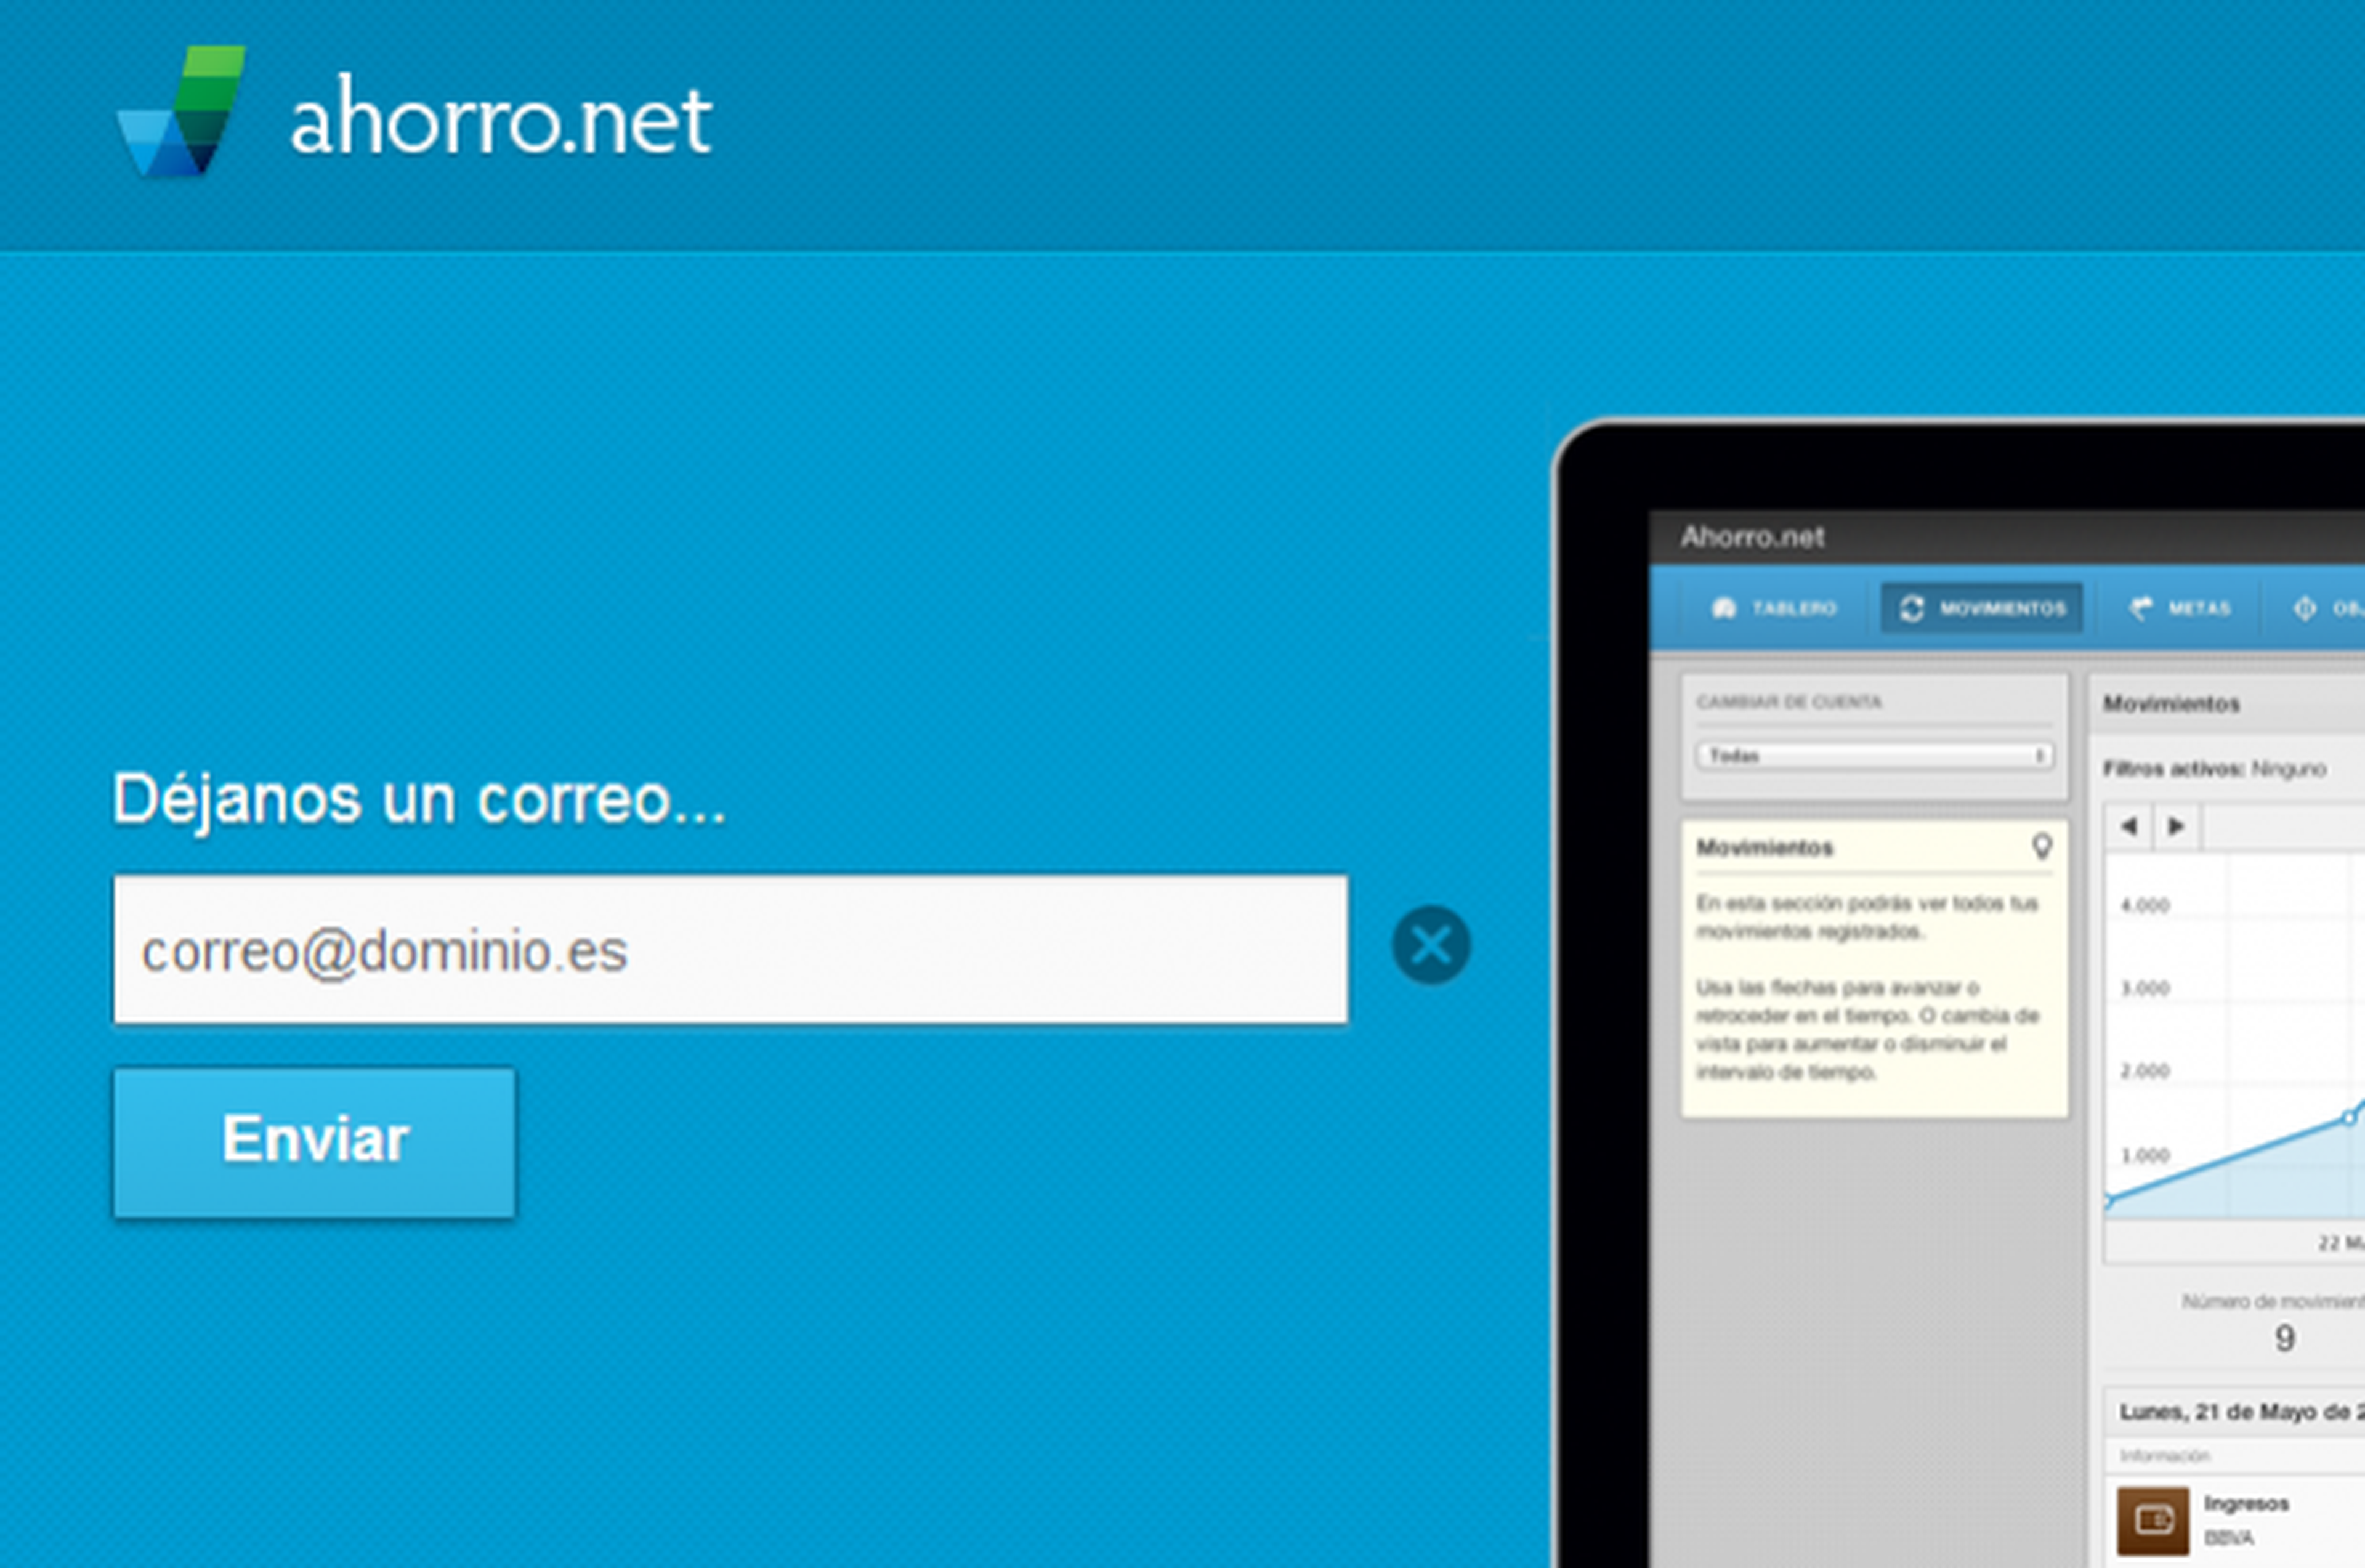
Request your invitation for the beta version
saving.net It’s still in private beta, but it’s possible to sign up after requesting an invite on its website. Just click the button request invitation and enter a valid email address. Click on Send and wait for a new message to arrive. Normally, you will receive it in a little less than 15 minutes.
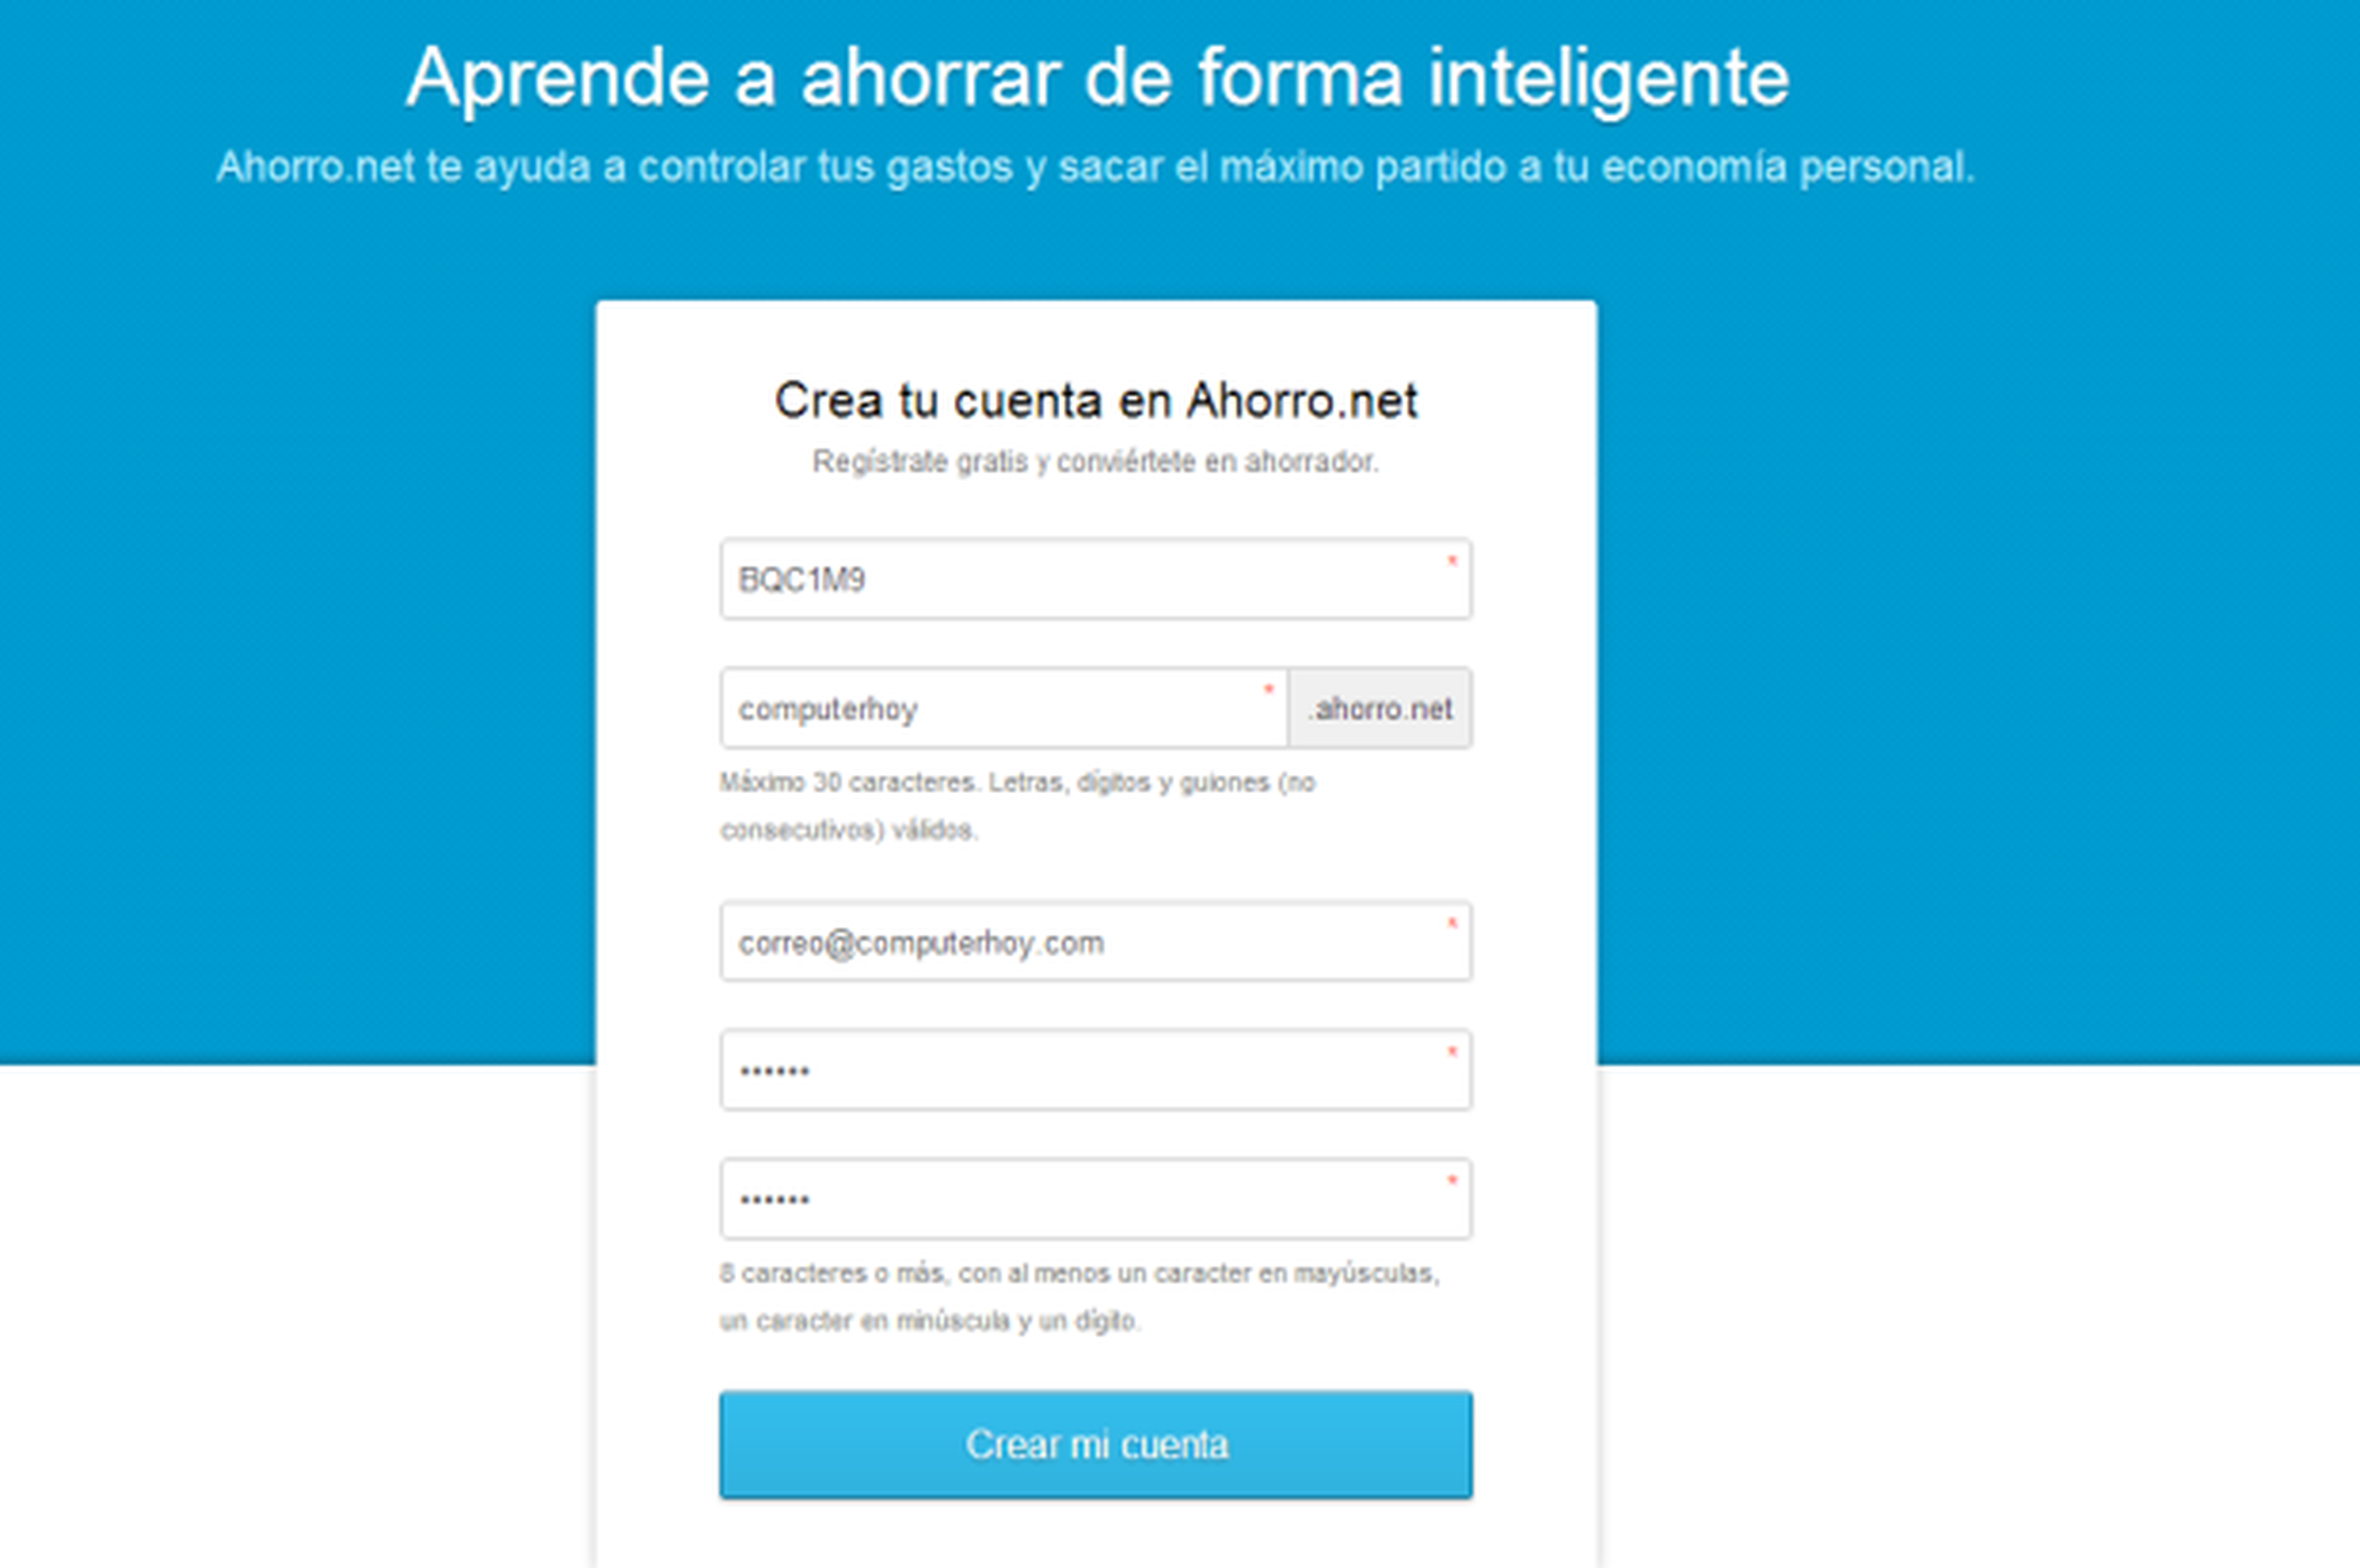
Complete your profile registration
When you have it, click on the link included and you will access the form record. The invitation code will be filled in automatically. In the bottom field, enter a username compatible with the service requirements (letters, numbers, and hyphens only). Also enter your email and a password, and finish with a click on create my account.
Create balance accounts
As soon as you complete the registration, you will access the service interface, available at a web address of the type user.savings.net (in our case, computerhoy.ahorro.net). The first thing you should do is create a cash account. Click on the yellow button Add Account and a floating panel will open. In name, write Cash. Set the date to today and enter the relevant monetary amount. Repeat the process with your bank accounts. Keep in mind that they do not have to be real accounts; just put something like “Current account” or similar. It is just a way of organizing the distribution of the available balance.

Add your first expenses
With the accounts created, on the left Board (the home page) you should see the balance sheet available. Remember those figures, because from now on they will go down… To record the last expenses incurredgo to the section movements and click on the button add movement.
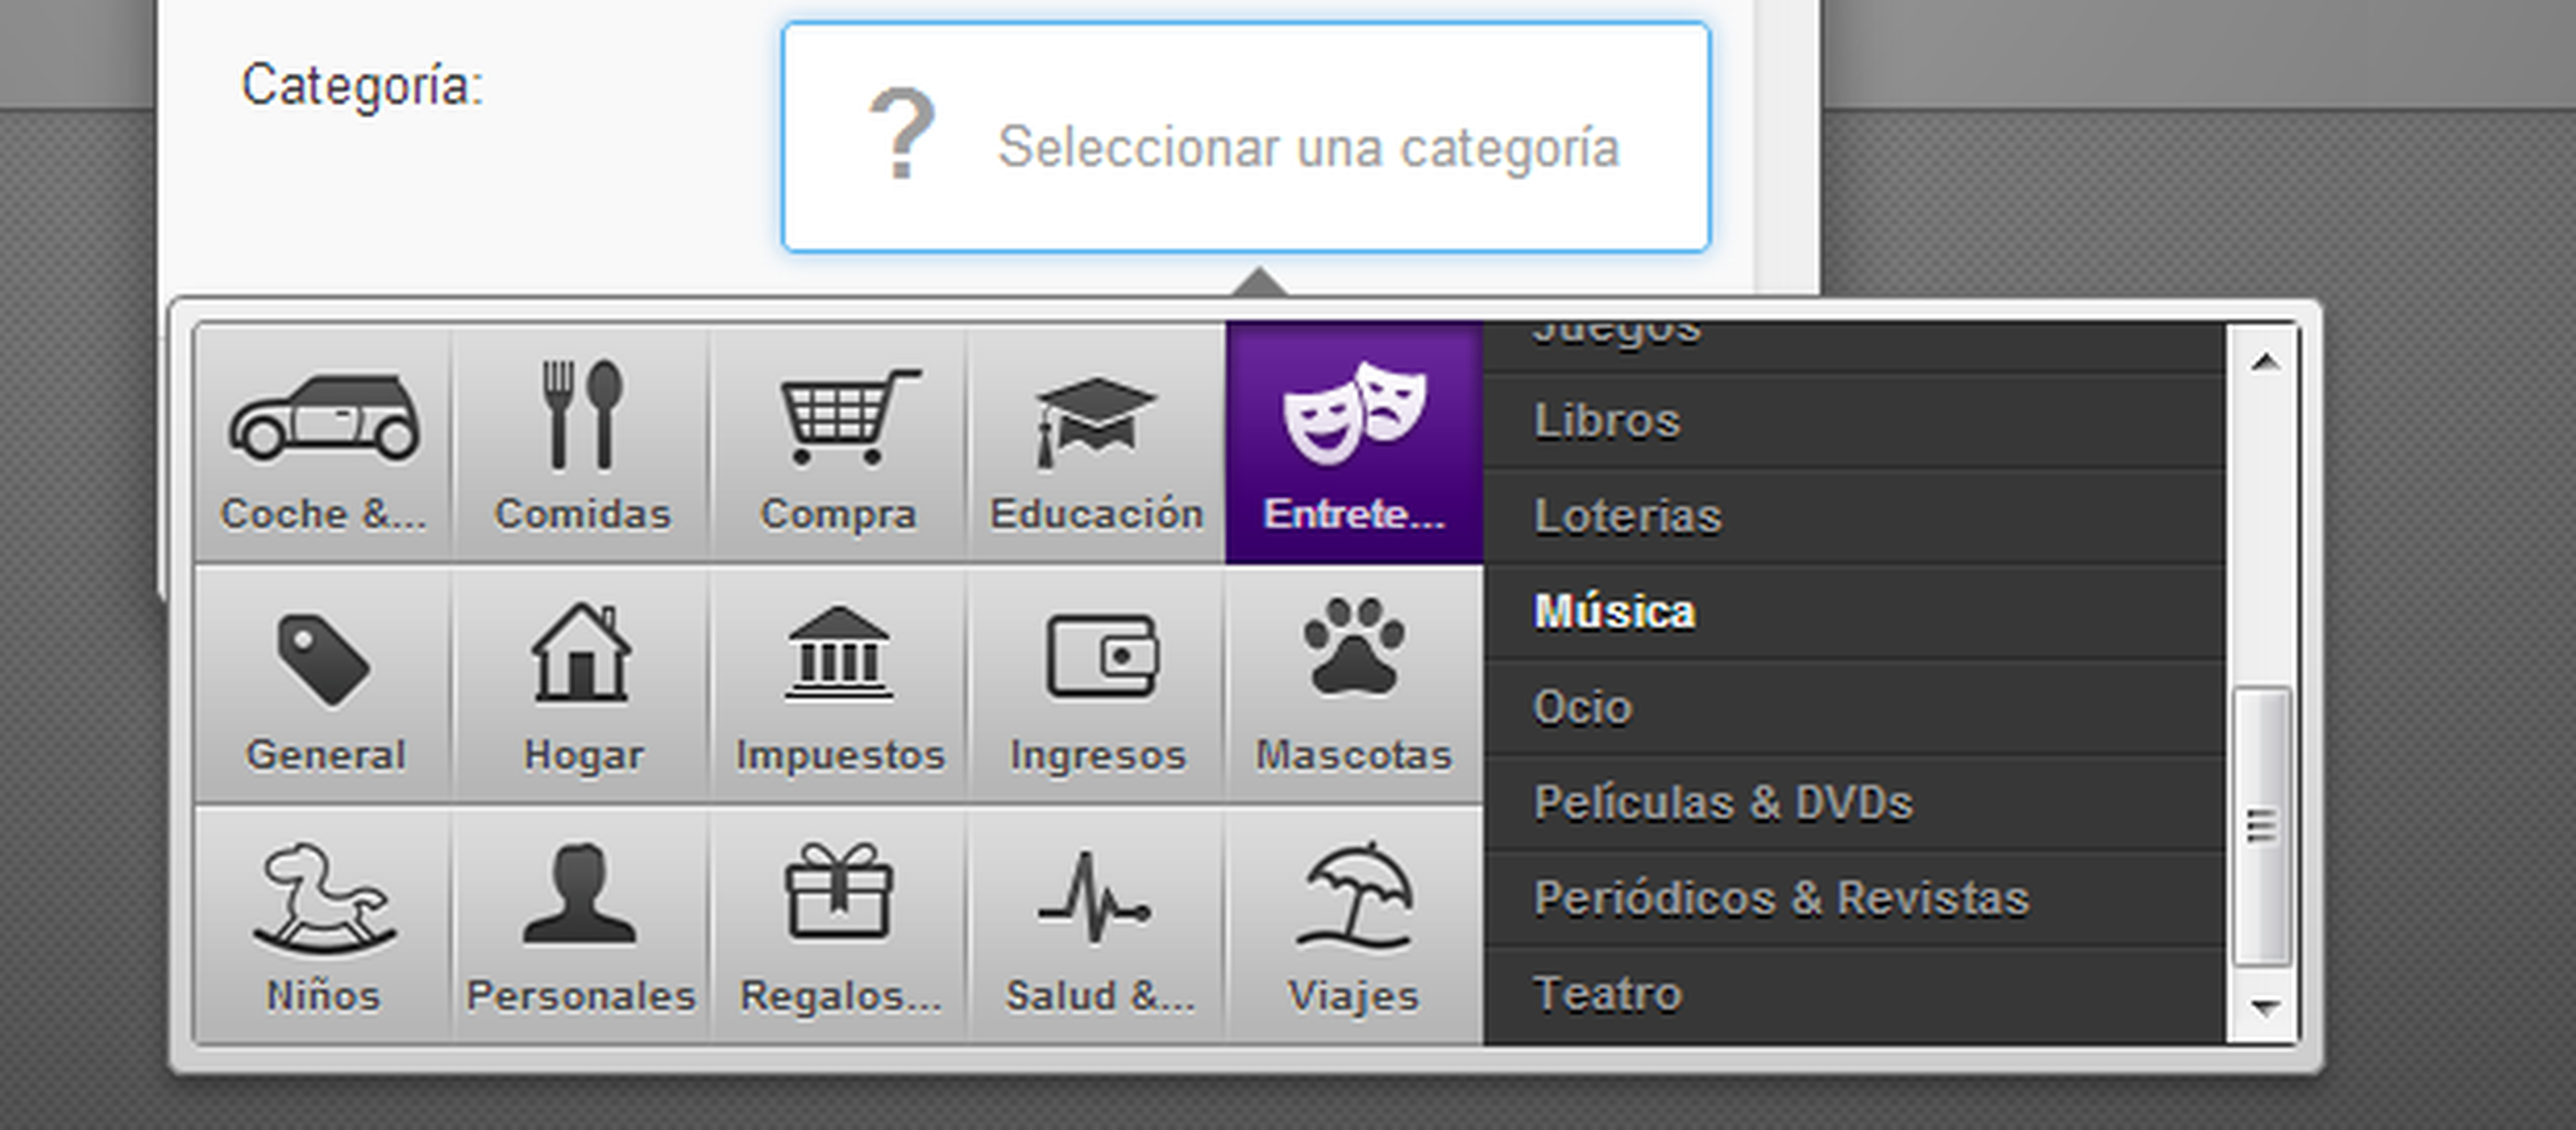
A floating panel will appear in which, first of all, you must enter the amount spent. If applicable, specify the date on which you made the transaction (or when you plan to make it). Just below, choose the account to which the movement corresponds and, finally, click on the button Select a category.
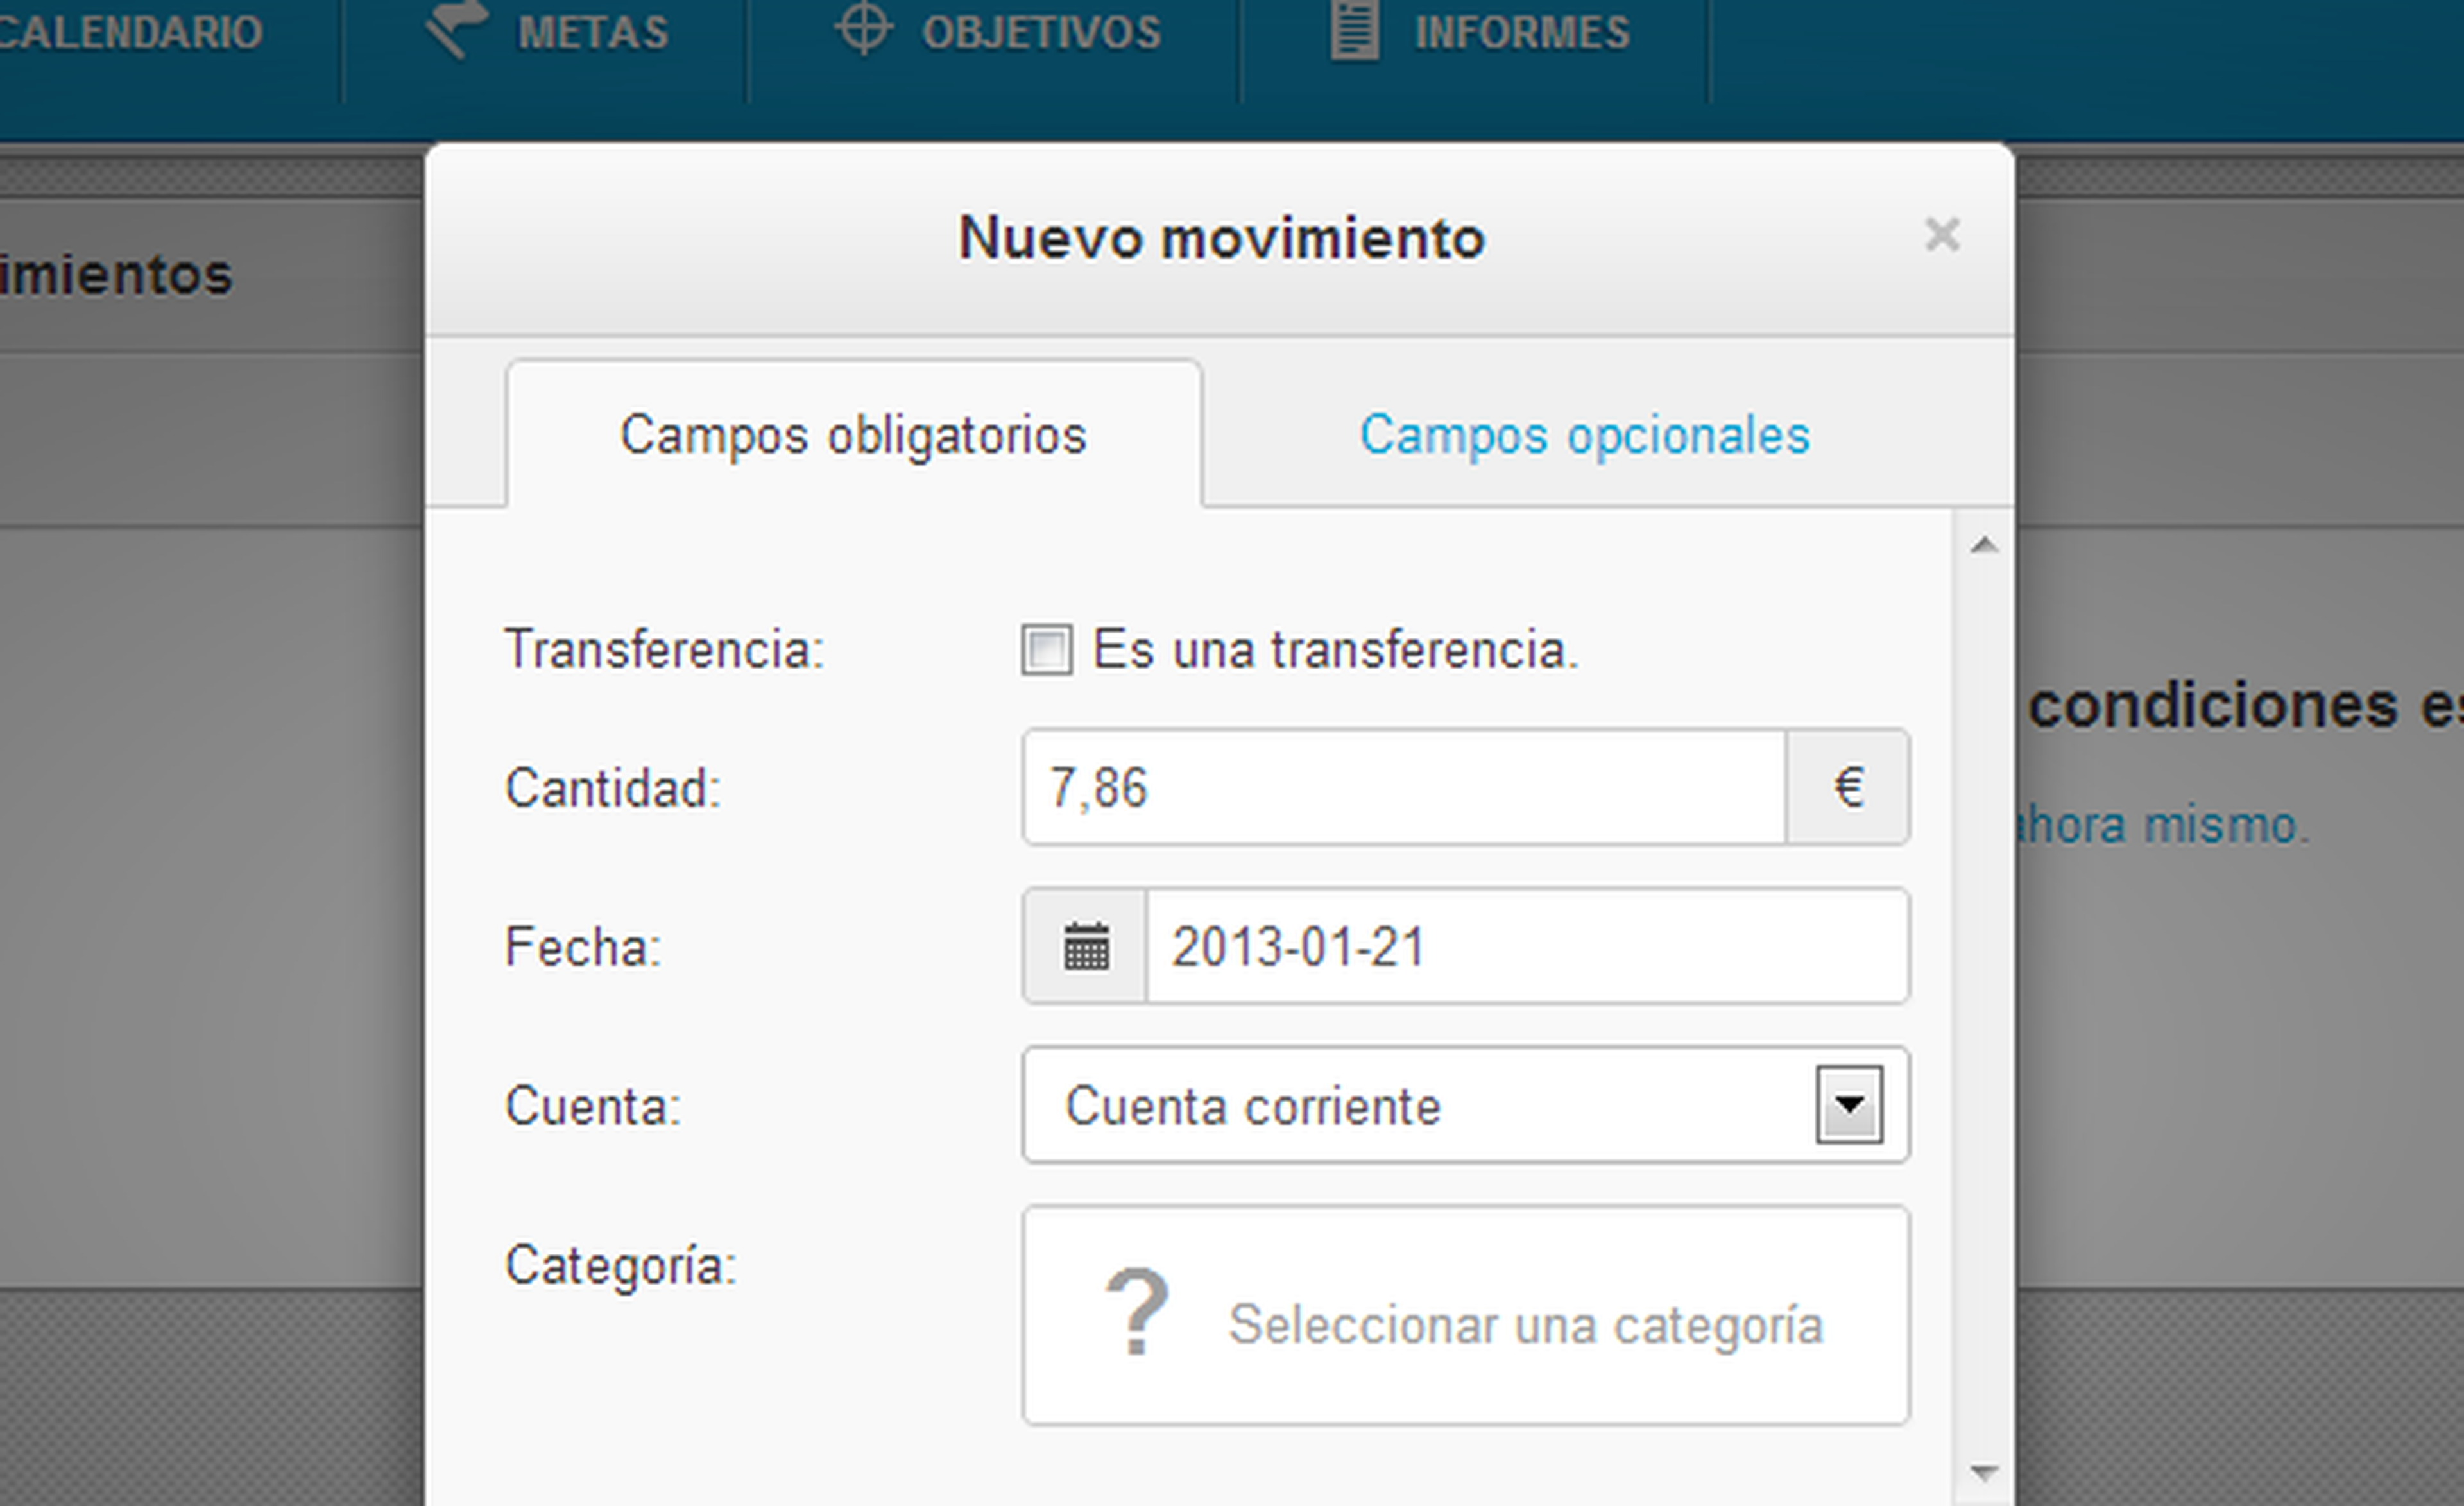
Another panel will open in which you can specify what the spent. For this, a two-tier system is applied. For example, in this case it is a music CD, so we have selected Entertainment> Music. Finally, confirm the expense with the button add movement.
income and transfers
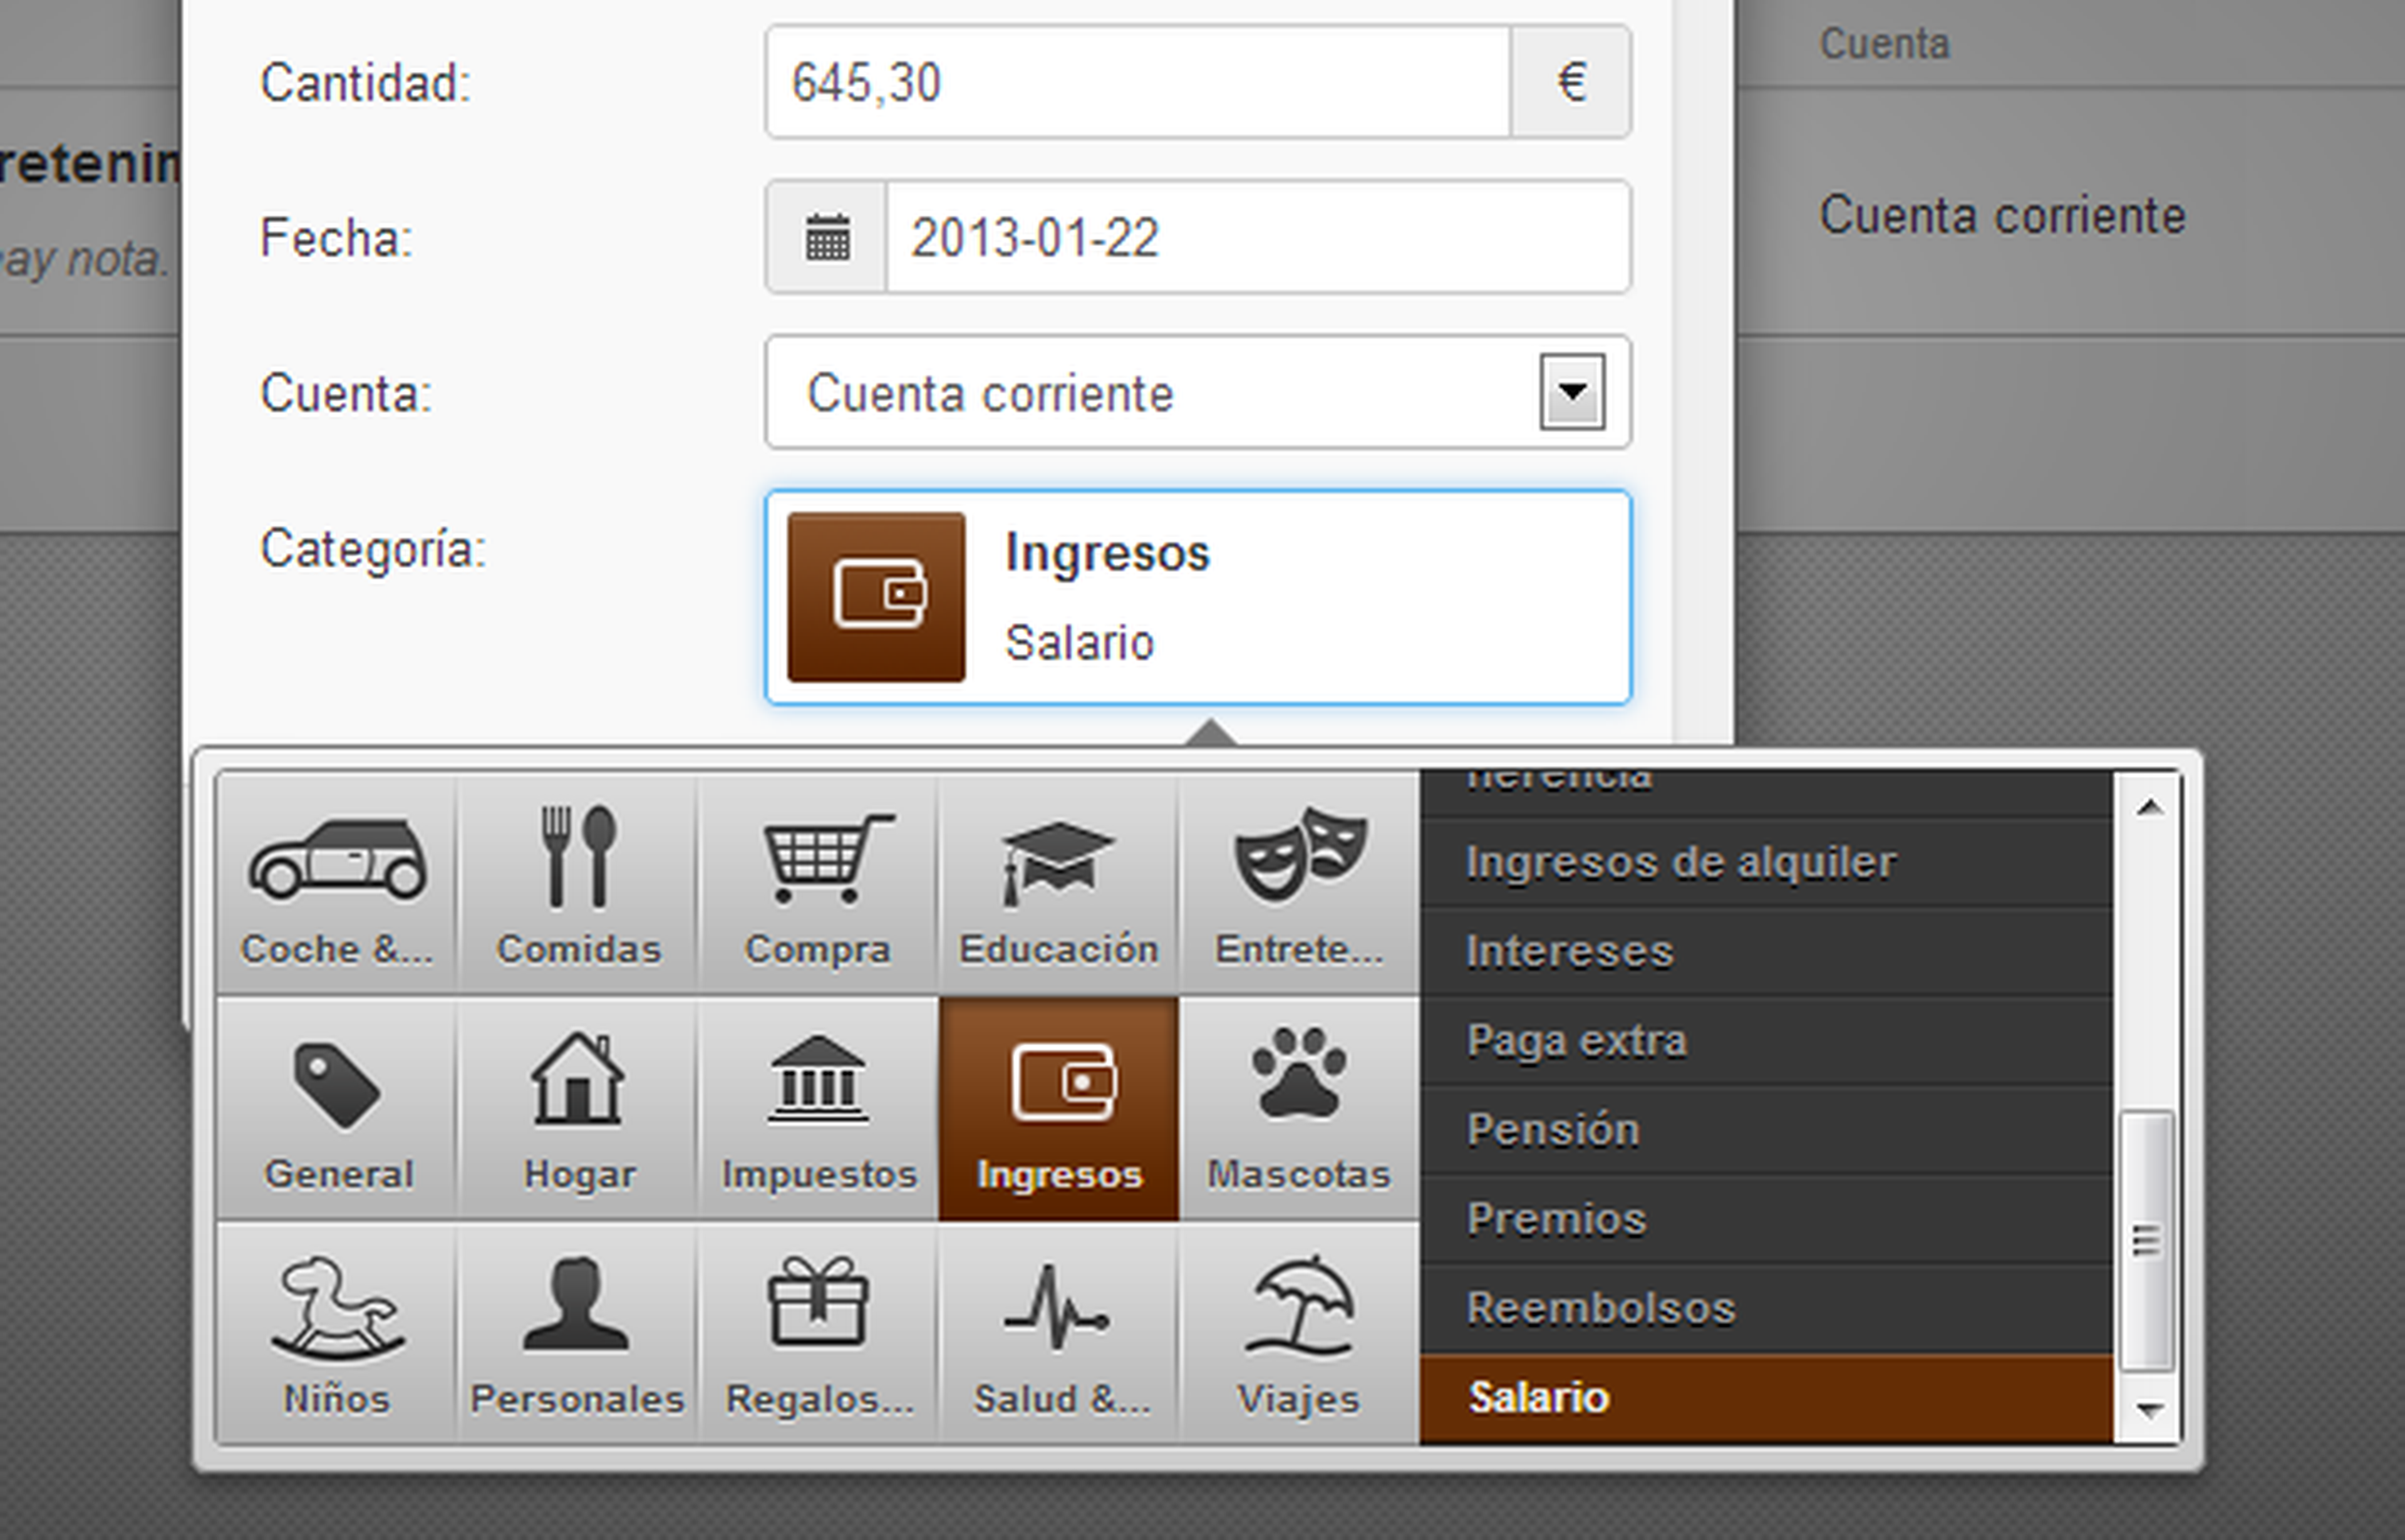
Not everything is spending and spending. Fortunately, it is also charged from time to time. For add your incomethe procedure is completely analogous to entering expenses. The only thing you have to take into account is the category: you must select the group Income and then specify the subgroup (salary, returns, etc).
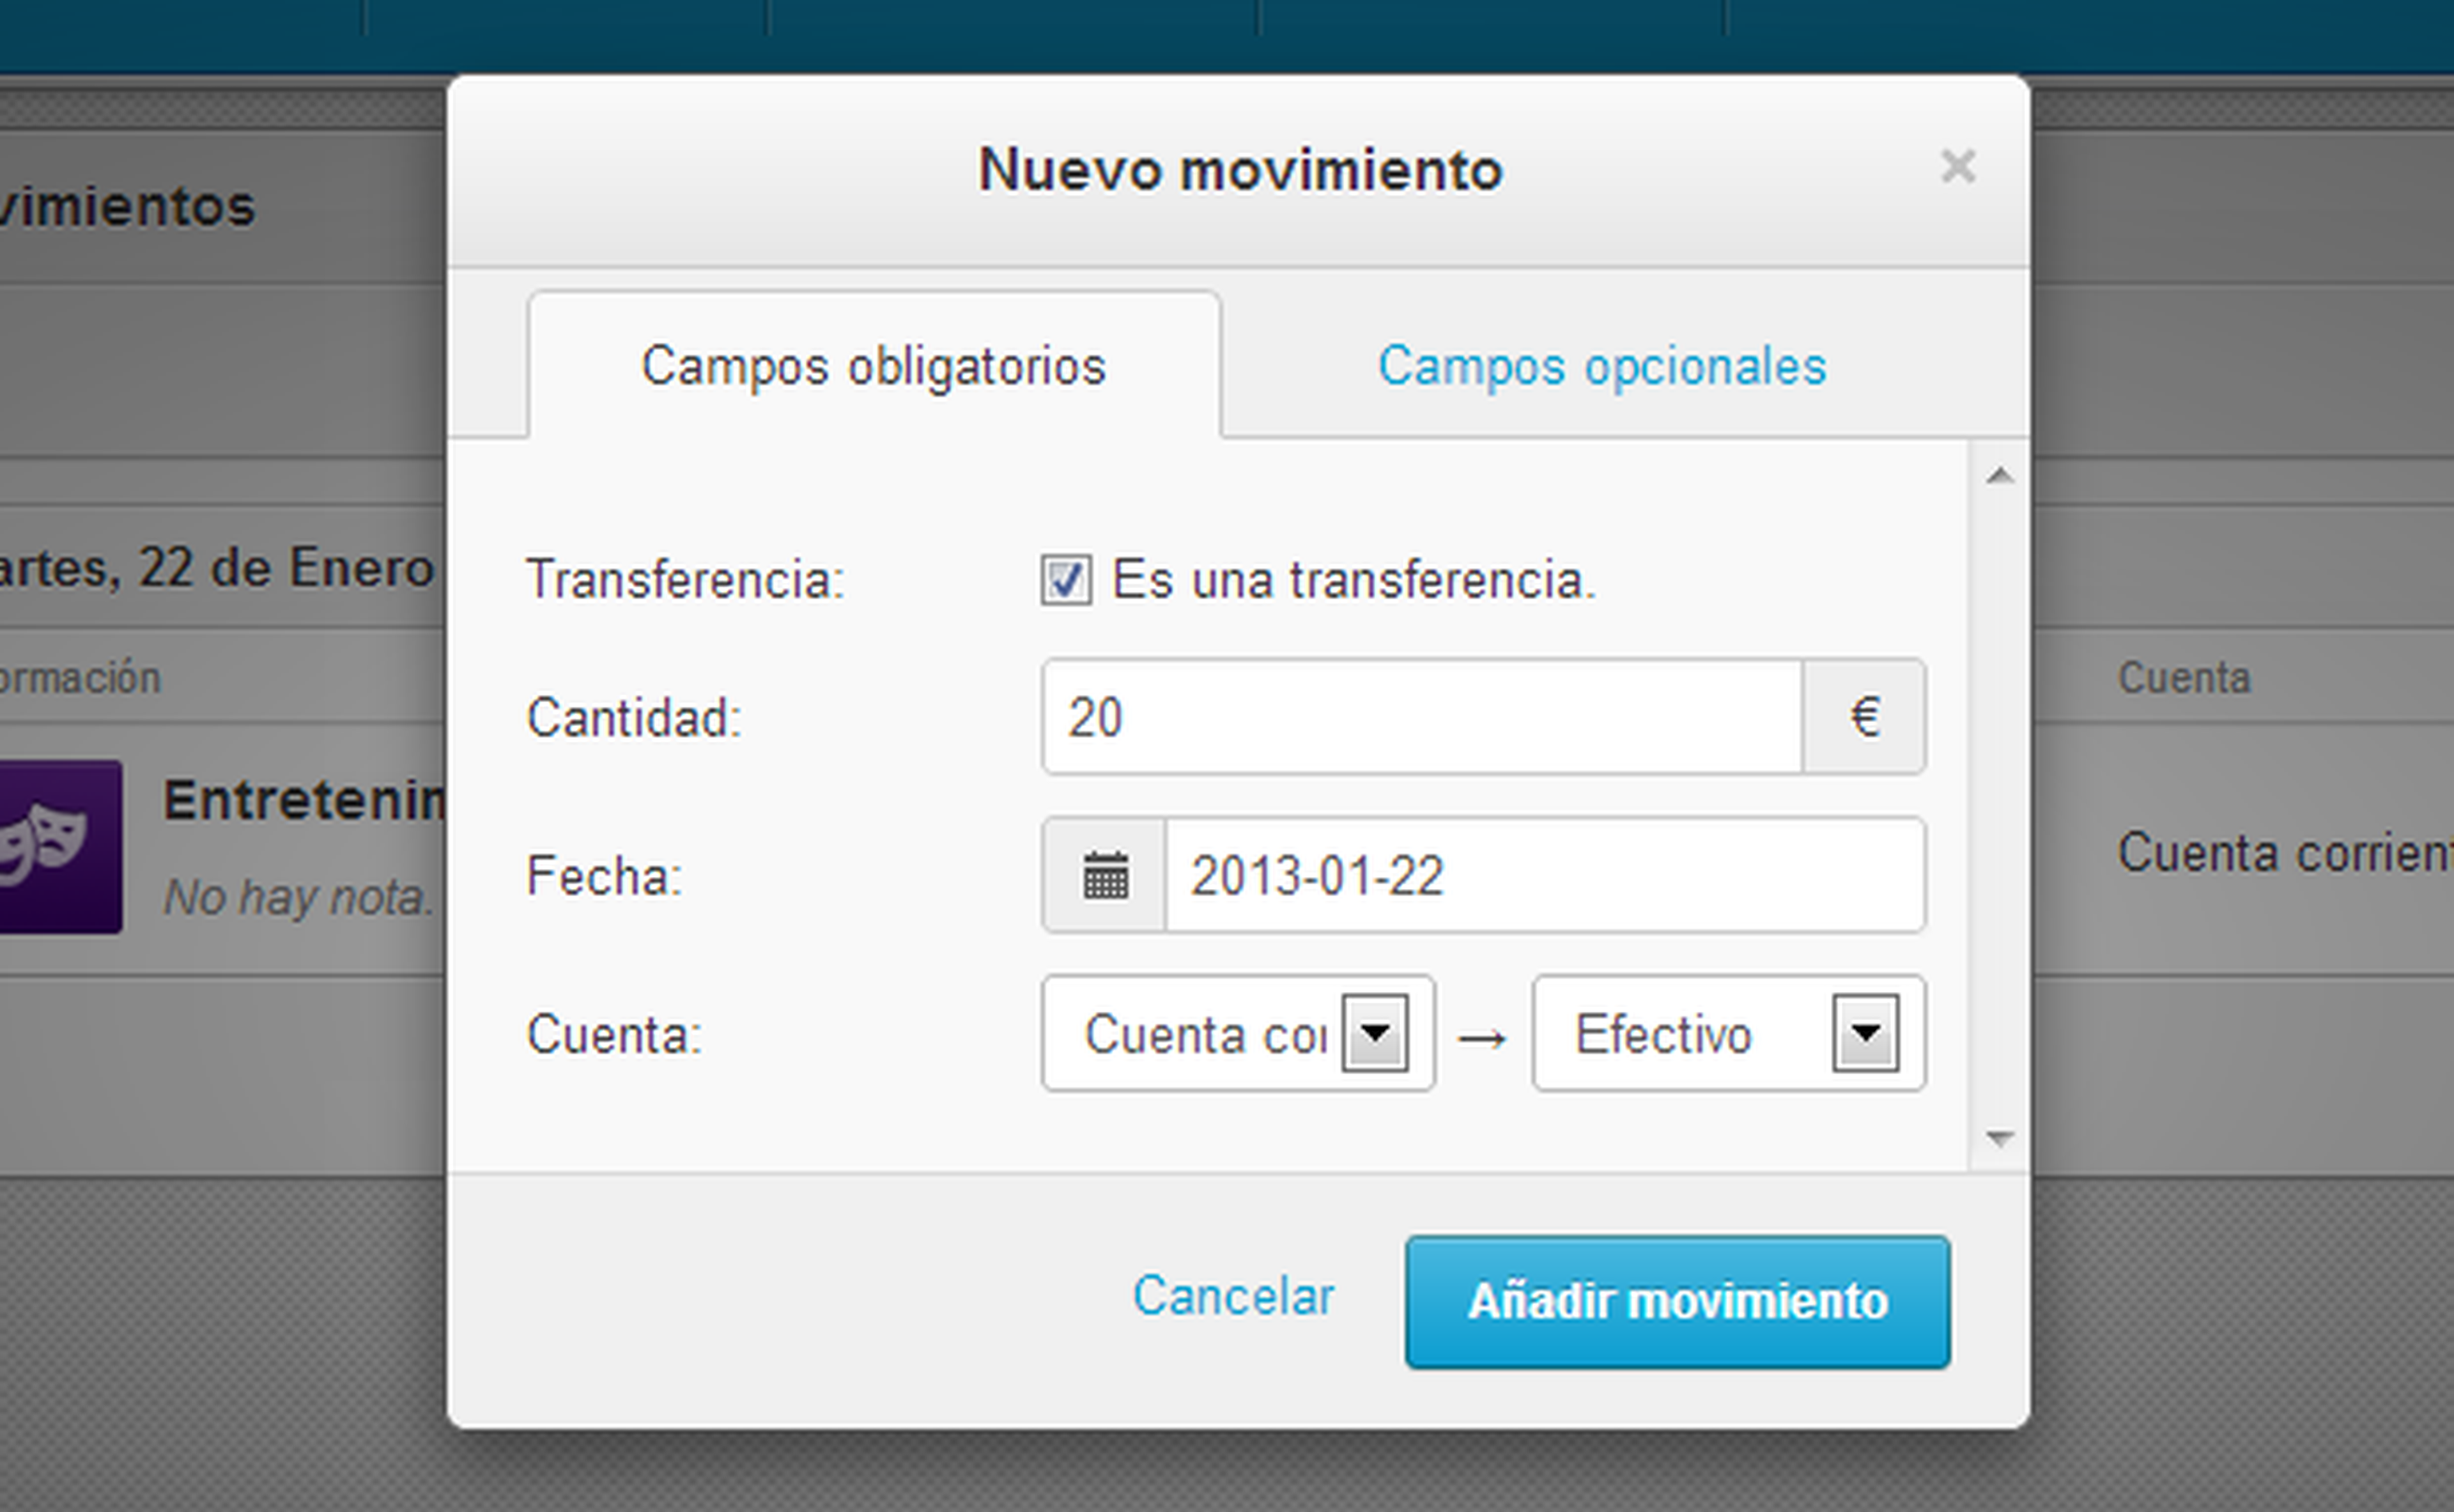
You may be wondering what that box is for “It’s a transfer”. If you check it, the categories will be deactivated and a new drop-down will appear. Indeed, it is to indicate transfers between your accounts balance, either current or cash. For example, if you have taken €20 of the ATM, you could indicate it by selecting the current account as source And the account cash as destination.
Review the evolution of your expenses and income
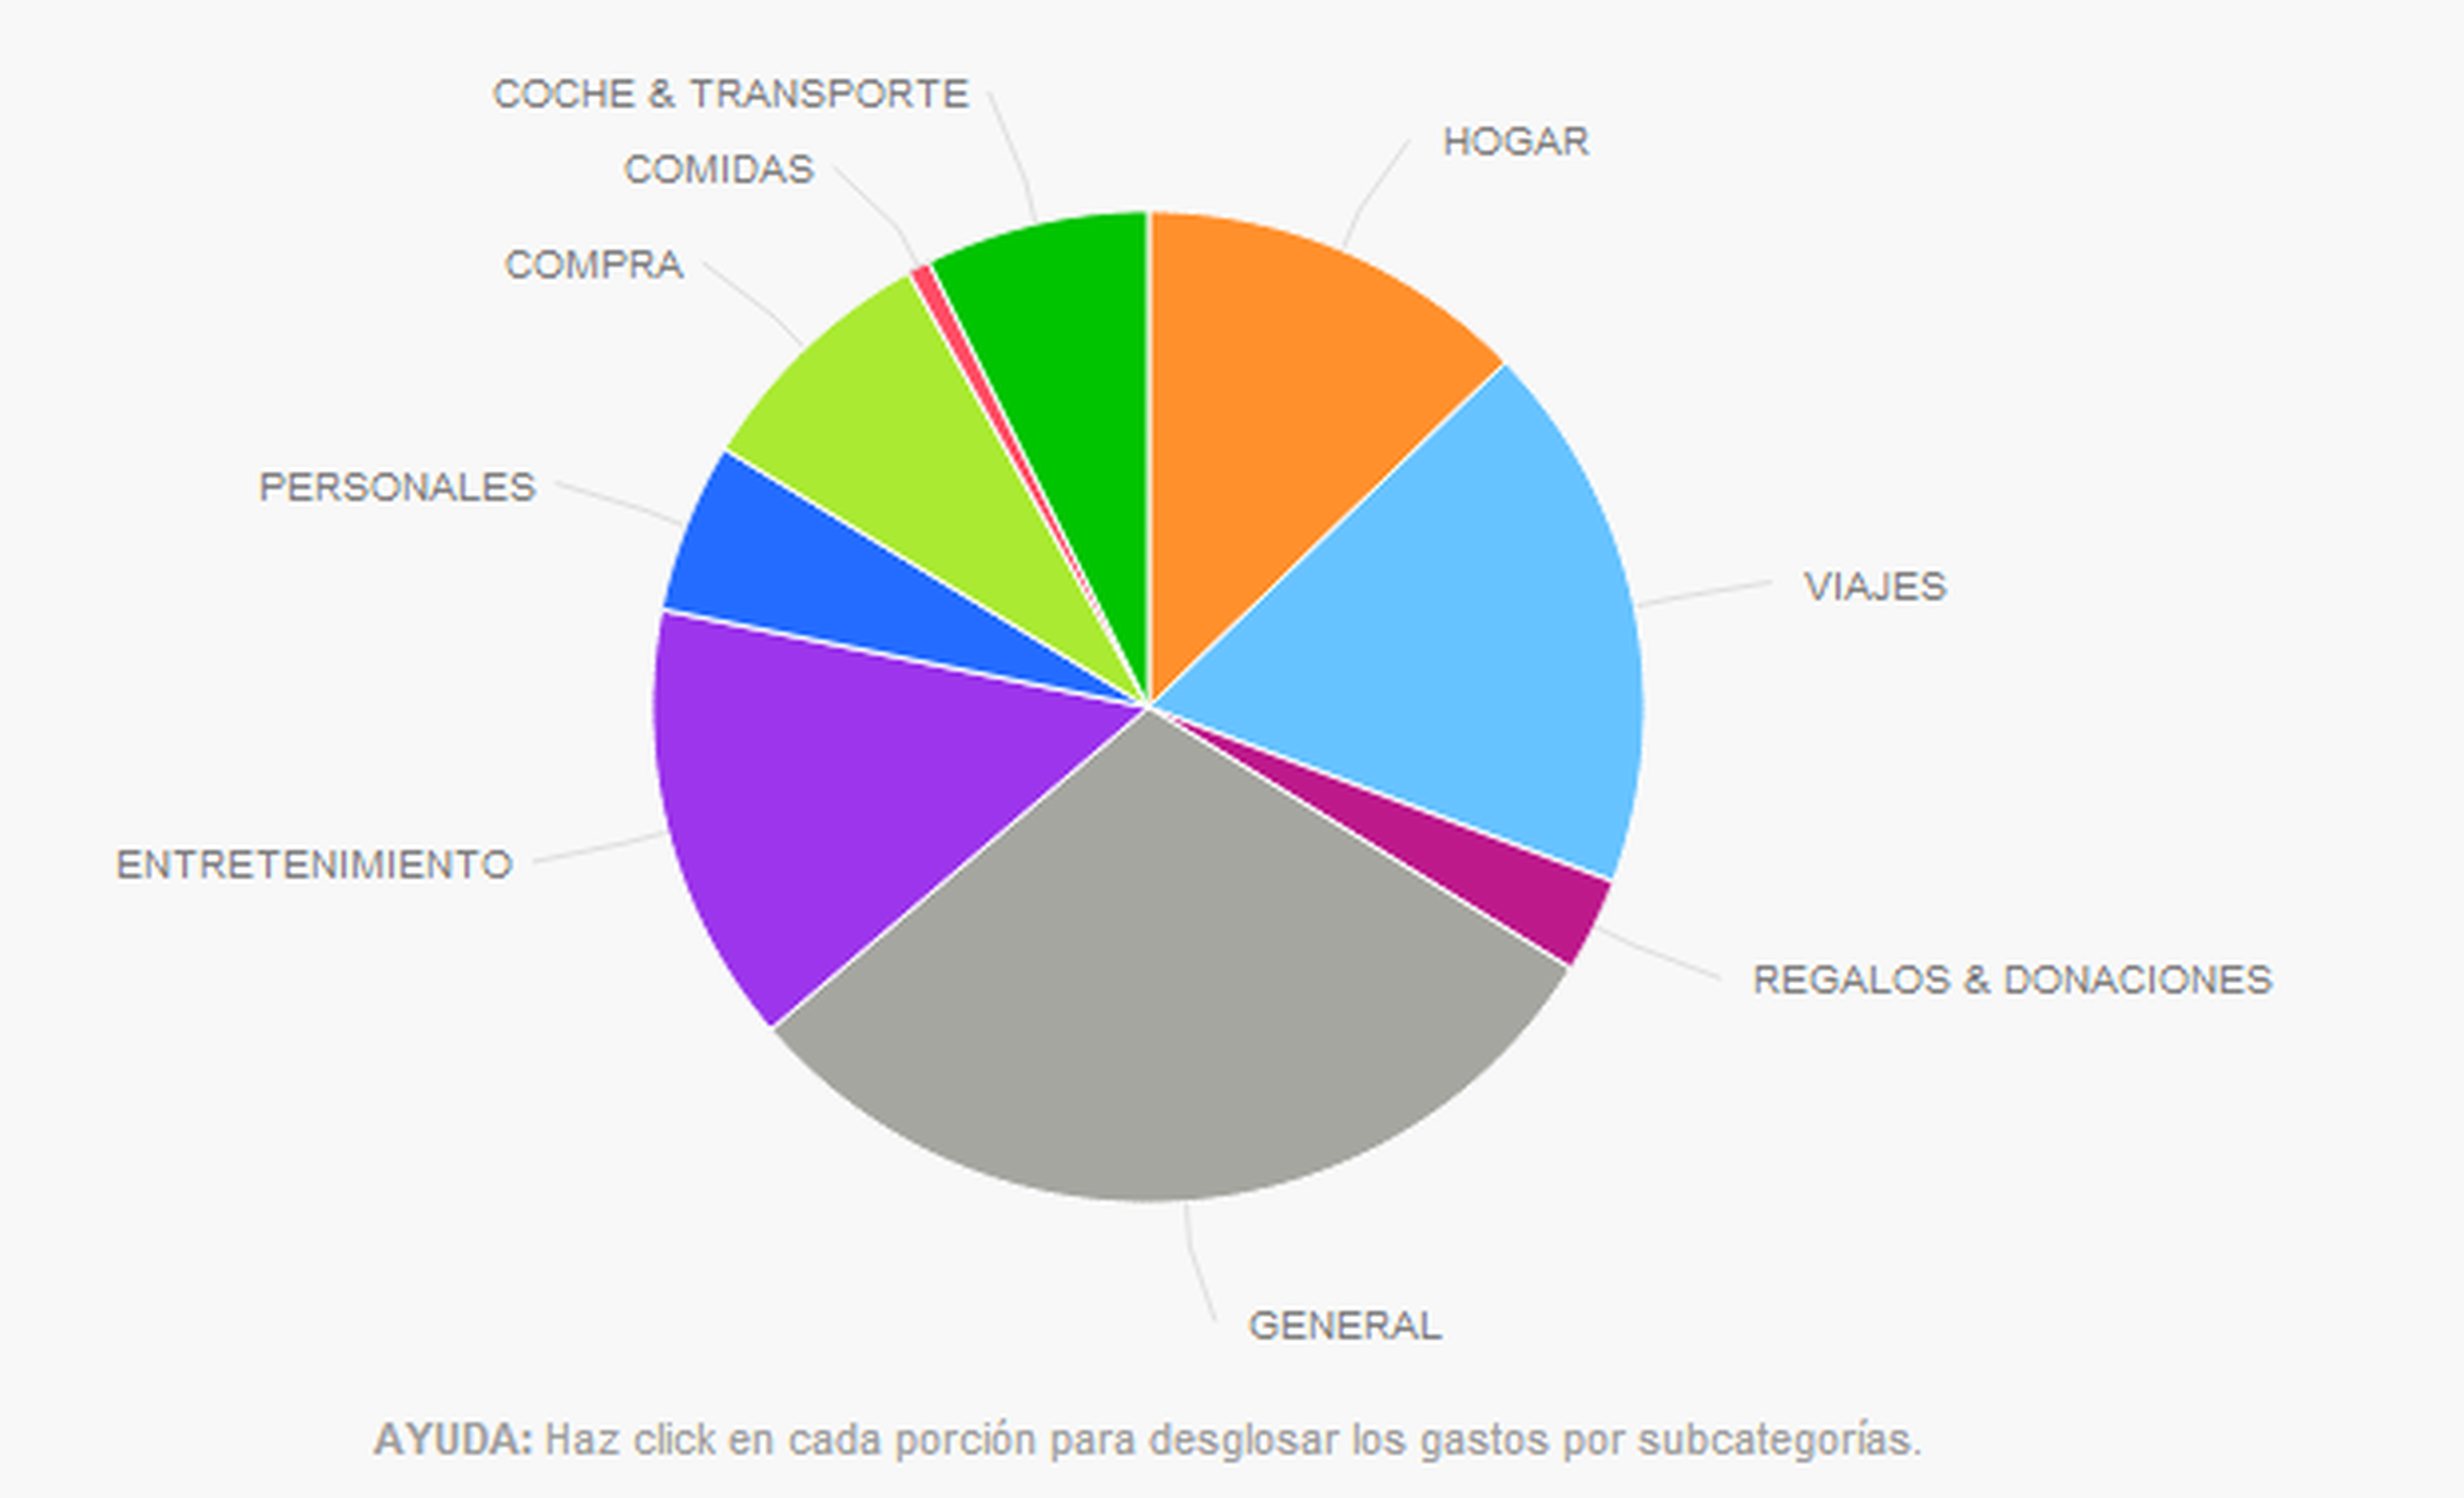
As you add the different movements, whether they are bills either income, you will see the true potential of this tool. To begin with, in the Board An interesting pie chart will be displayed with which you can see in which categories are you spending the most money. Additionally, the section Reports displays this same information, but in a more comprehensive way.
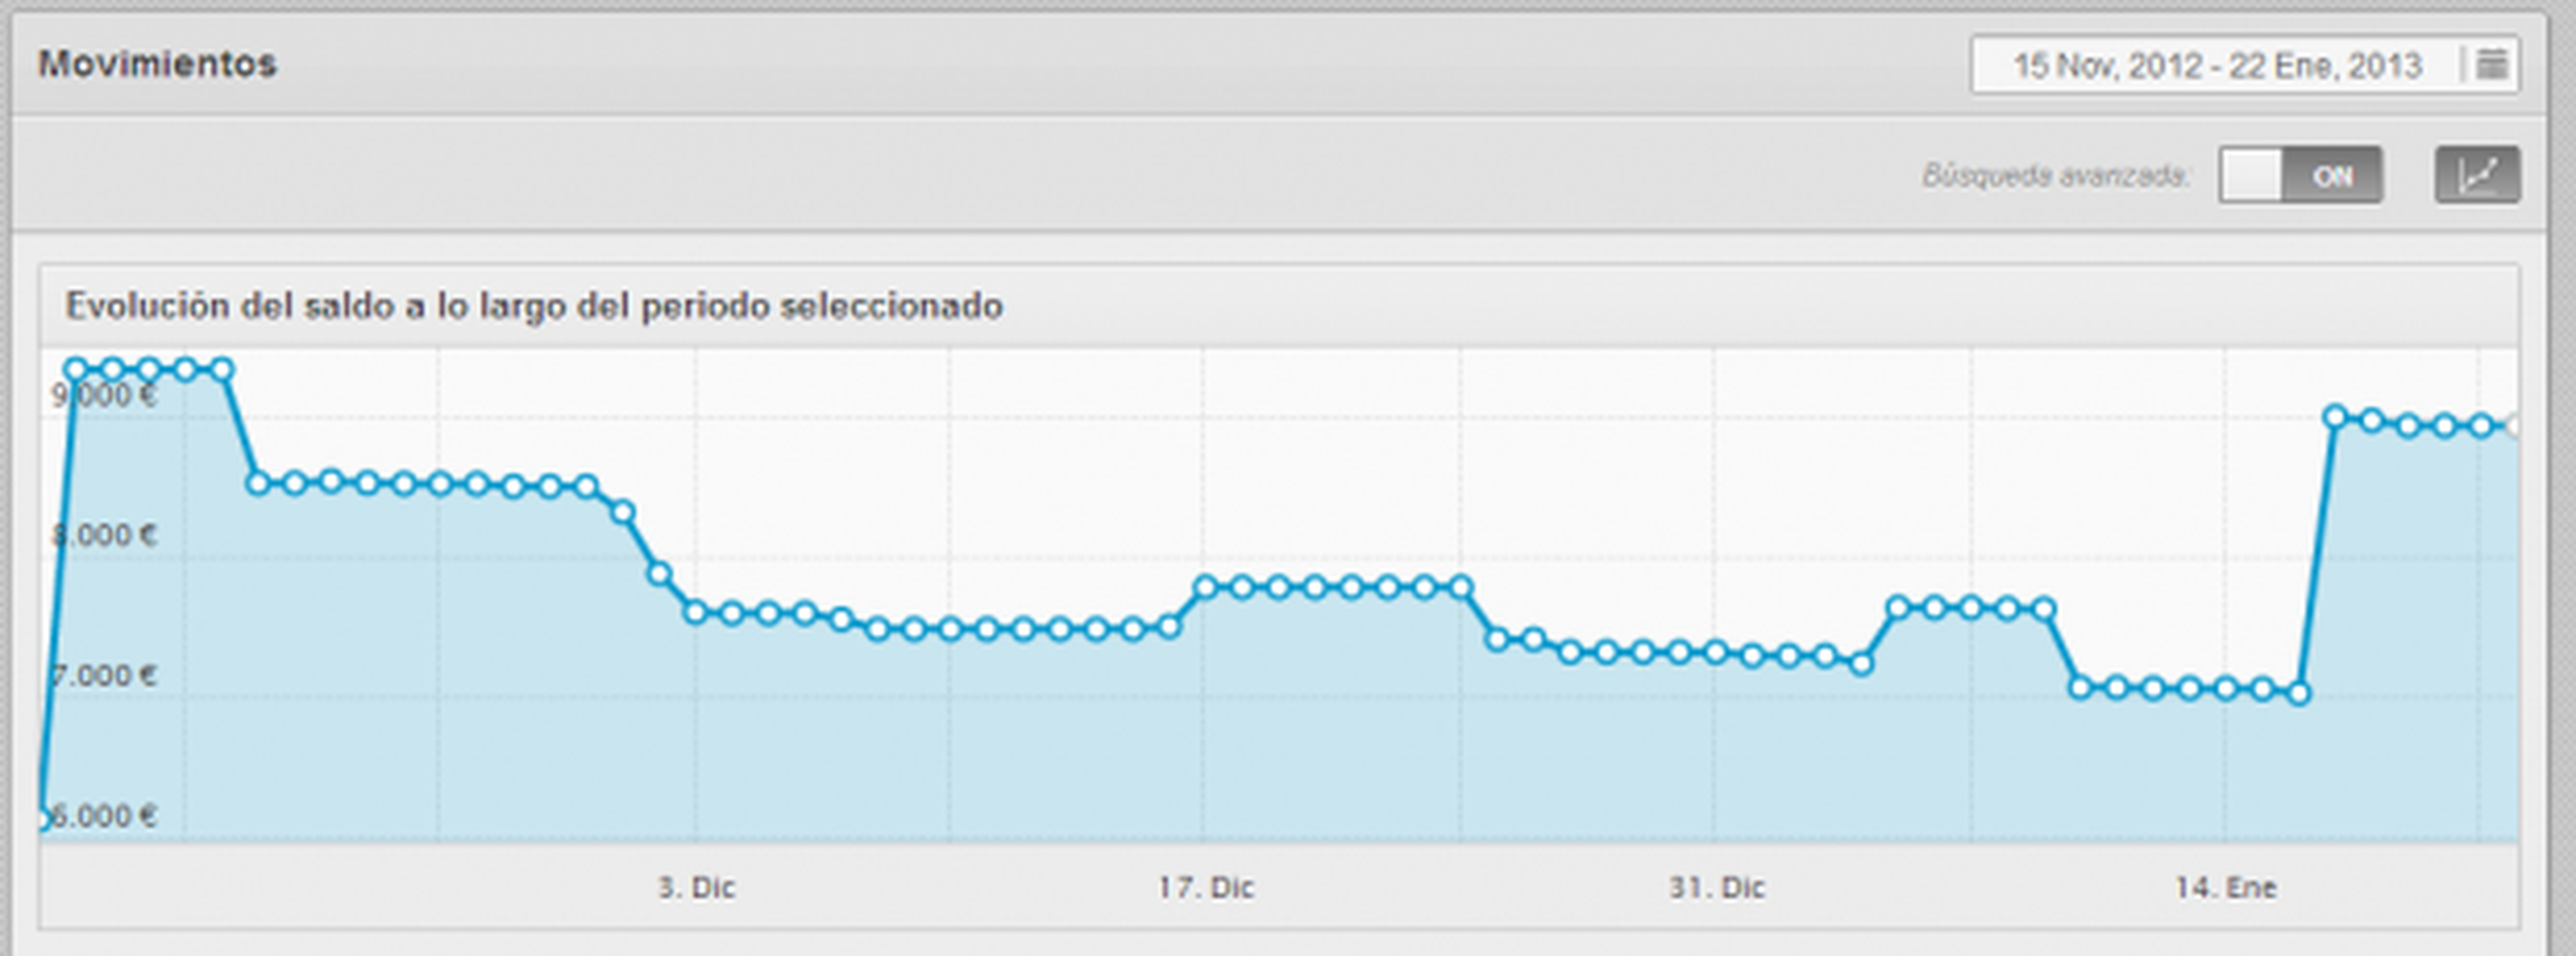
For its part, the section movements also shows graphs of balance evolution. You may have to activate them from the button in the upper right corner the first time. Of course, in both cases, you can select the analyzed period using the date filteron top.
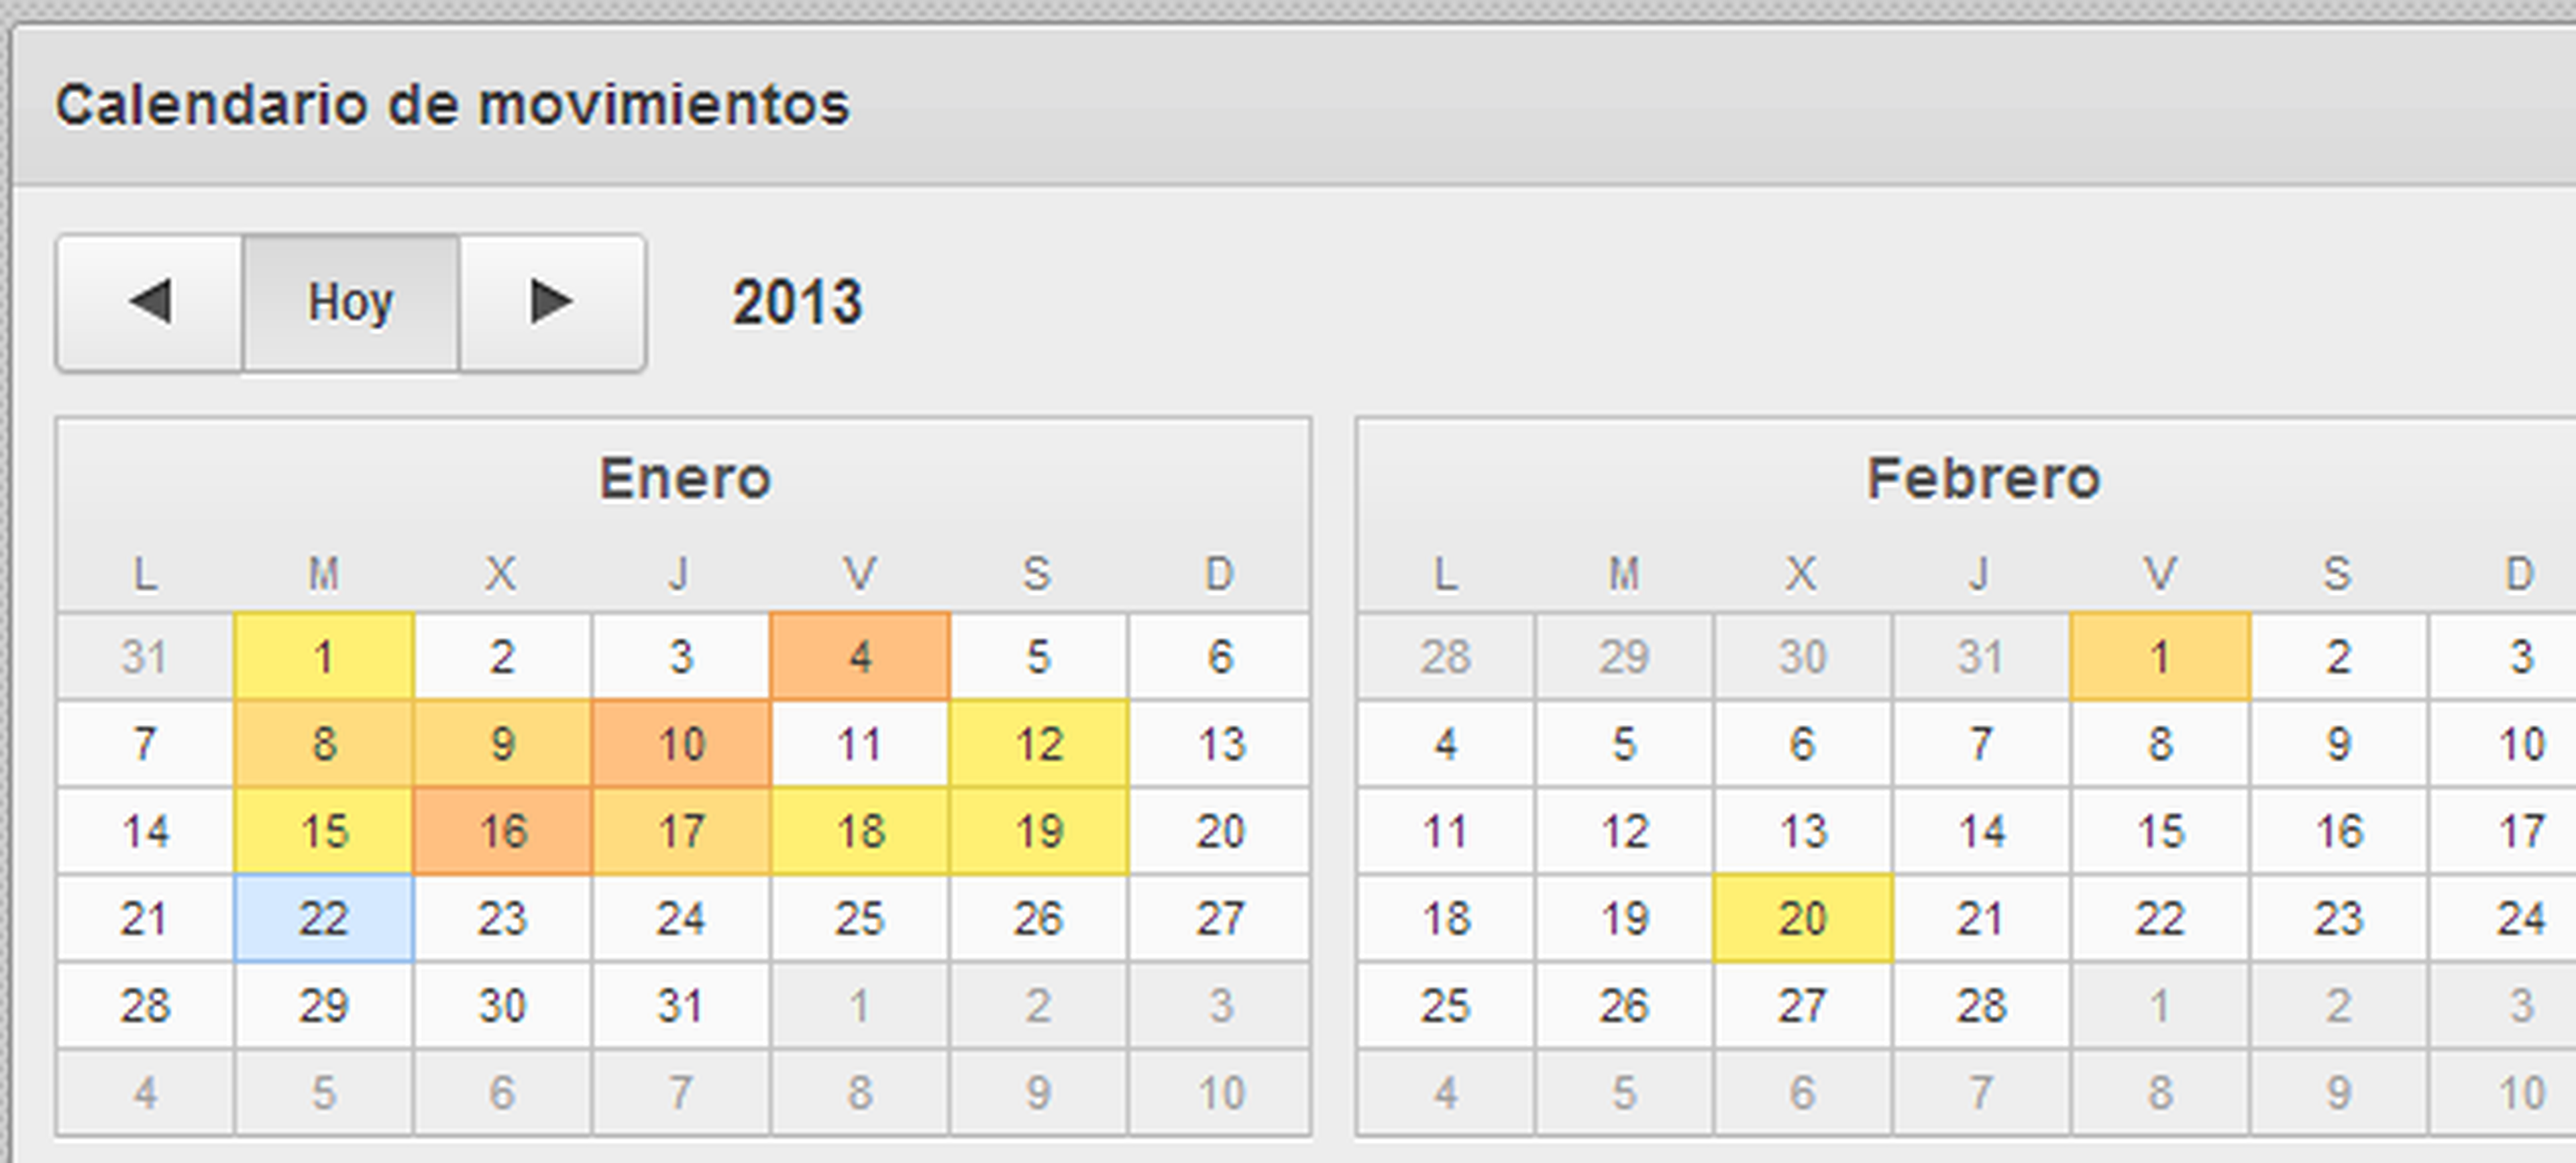
Lastly, the section Calendar, recently incorporated, allows you to see the distribution of movements on their corresponding dates. Perhaps it is not so interesting to analyze the expenses already made, but it can be very useful for organize the payments and invoices that you will have to face in the short term.
[ad_2]